
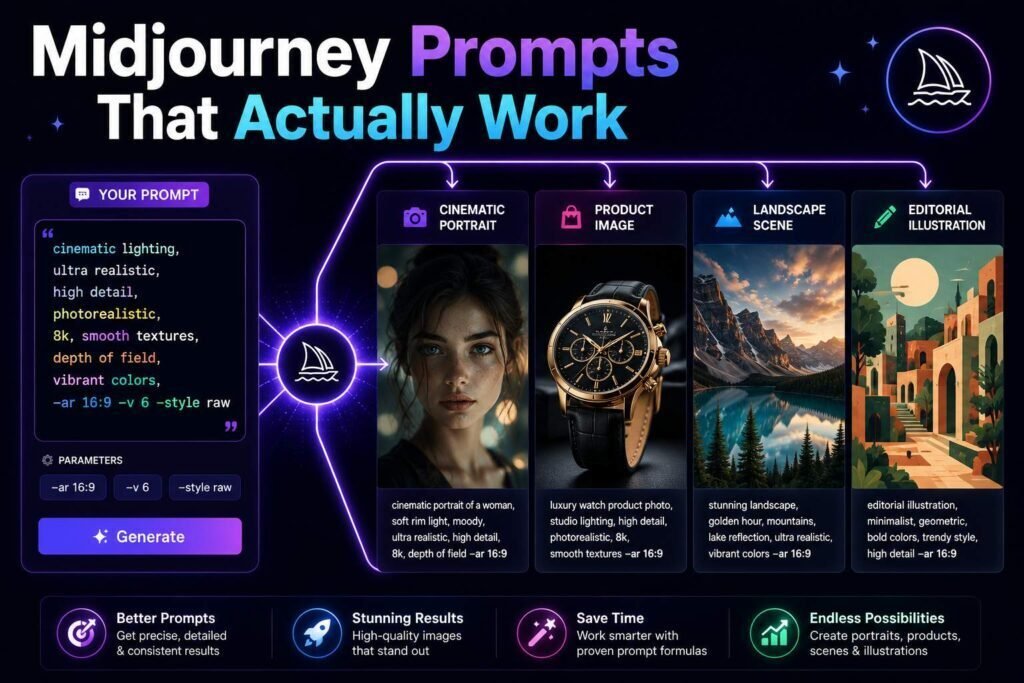
Great Midjourney images come from structured prompts, not lucky guesses. This library teaches a repeatable formula, gives tested prompts by style you can copy and adapt, and then covers the parameters and refining techniques that turn a good first result into a finished image. Pair it with our AI image generators guide to pick the right tool for each job.
The Midjourney Prompt Formula
[Subject] + [action/pose] + [environment] + [lighting] + [style/medium] + [composition/camera] + [parameters]. The more of these you specify, the more control you get. Verify current parameters for your Midjourney version.
Parameters Cheat Sheet
The formula ends in parameters, and these are the ones worth knowing. Exact ranges change between versions, so confirm them in the official docs before relying on a specific value.
| Parameter | What it does |
|---|---|
| –ar | Aspect ratio, e.g. –ar 16:9 for wide, –ar 2:3 for portrait. |
| –stylize | How strongly Midjourney applies its house aesthetic (low = literal, high = artistic). |
| –style raw | Reduces the automatic styling for more control and realism. |
| –chaos | How varied the four results are; higher is more surprising. |
| –no | Exclude something, e.g. –no text, watermark. |
| –seed | Locks randomness so you can reproduce or tweak a look consistently. |
| –tile | Generates seamless, repeatable patterns for backgrounds and textures. |
Photorealistic
Customization tip: name the subject, the lighting, and the lens; those three choices define a realistic photo.
Portraits and Characters
Illustration and Art
Branding and Concept
Interiors and Architecture
Customization tip: name the style, the time of day, and the materials; interiors live or die on light and texture.
Food and Still Life
Environments and Scenes
Textures and Seamless Patterns
3D and Product Renders
Nature and Landscapes
Marketing and Social Graphics
Customization tip: leave empty space for a headline and add the text later in a design tool for crisp, readable type.
Customization Tips
- Lighting is the biggest quality lever: “golden hour”, “soft studio light”, “dramatic rim light” transform results.
- Name a medium and lens for photos (85mm, macro) and a medium for art (gouache, vector, 3D render).
- Use –ar for aspect ratio and iterate with variations rather than restarting.
- Do not prompt for living artists’ styles or real people’s likenesses; see our editorial policy.
Getting Better Results
Two habits improve your images more than any single prompt. The first is borrowing the language of photographers and artists: name your lighting (golden hour, soft diffused, rim light), your lens or composition (85mm, macro, wide-angle, rule of thirds), and your mood or grade (muted, high contrast, cinematic). One word from each group turns a vague prompt into an art-directed one. The second is treating your first four results as a starting point, not the finish line: use Vary to explore close alternatives, Zoom out to give a subject more room, Pan to extend the frame, and Upscale only your final pick. Midjourney also weights the words near the front of your prompt most heavily, so lead with the subject and its most important qualities, then add detail. More words are not automatically better; describe one strong idea well, generate, and refine.
Advanced Prompt Techniques
Once the basics are working, a few Midjourney-specific techniques give you finer control. Multi-prompts and weighting let you emphasize parts of a prompt using the double-colon syntax, so mountains::2 lake::1 tells the model the mountains matter more. Image prompts let you paste an image URL at the start to guide composition, color, or style from a reference you already have. Blending combines several of your own images into a merged result, which is useful for developing a consistent style or mascot. And the –no parameter removes unwanted elements when describing what you do want is not enough. Introduce these one at a time; stacking every technique into a single prompt usually muddies the result rather than sharpening it. As always, confirm the current syntax for your Midjourney version, since these features evolve.
Staying Consistent Across a Set
If you need many images that look like a family rather than strangers, consistency has to be engineered, not hoped for. Write a fixed “style block” that names the medium, lighting, color palette, and mood, and paste it at the end of every prompt so only the subject changes. Keep the same model version and stylize value across the set, and reuse a saved –seed when you want tight repeatability. When you find a look you love, note the full prompt and parameters so you can reproduce it weeks later. Referencing one of your own earlier images and describing only what changes, such as the pose or background, holds a look together far better than rewriting each prompt from scratch and hoping the model lands in the same place twice.
Preparing Images for Real Use
Once you have a result you love, a few finishing steps make it usable. Upscale only the final pick to add resolution and detail. For web use, export at a sensible size and compress the file so pages stay fast; for print, use the highest resolution the tool offers and upscale further in a dedicated tool if needed. Keep the prompt and seed noted alongside the file so you can regenerate variations later. And revisit licensing before anything goes public: paid tiers generally grant broad commercial rights, but terms change and depend on your plan, so confirm the current license and avoid prompts that lean on a living artist’s name or a real brand’s trademarked logo.
A Quick-Start Checklist
Run every prompt through this short list and your images will improve immediately.
- Subject first: lead with what the image is of and its key qualities.
- Set the medium: photograph, illustration, 3D render, or painting.
- Add light and lens: one lighting term and one camera or composition term.
- Choose parameters: aspect ratio, –style raw for realism, –no to exclude problems.
- Iterate, don’t re-roll: pick the closest result, then vary and refine.
Common Mistakes
- Overloading with contradictory styles in one prompt.
- Forgetting composition and lighting, then wondering why it looks flat.
- Not iterating: the best image is usually version four, not version one.
- Relying on vague quality words like “beautiful” instead of specific, describable detail.
FAQs
Do these work in other image tools?
The formula transfers to most generators; parameters (–ar, –v) are Midjourney-specific. See the image generators guide.
How long should a prompt be?
Long enough to name the subject, style, lighting, and composition, but not a wall of adjectives. Too many competing descriptors and the model averages them, and the image gets muddy. Start focused, then add detail one element at a time.
Why do my images look generic?
Usually the prompt describes what is in the frame but not how it is shot. Add lighting, lens, mood, and a specific style, and use –style raw to turn down the default prettiness.
How do I keep a character consistent across images?
Lock a –seed, reuse the exact character description, and stay on the same version. For tighter consistency, reference an image you already generated and describe only what changes, such as the pose or background.
Why do faces or hands sometimes look wrong?
Fine anatomical detail is historically where image models struggle most, though it keeps improving. Generate several options, favor compositions where hands are relaxed or partly out of frame, and lightly retouch the best result rather than expecting perfection on the first try.
What is the niji model for?
Niji is Midjourney’s model tuned for anime and illustration. Use it for that aesthetic and the standard model for photorealism and general art; switch per prompt depending on the look you need.
Which version of Midjourney should I use?
Generally the latest standard version gives the most realistic, coherent results, while niji is best for anime and illustration. If you are matching older images, keep using the version they were made with, since each release changes the aesthetic. When in doubt, generate on the newest version and add –style raw to dial back automatic styling.
How many variations should I generate before settling?
Usually a few rounds. Generate a set, pick the closest, then vary or refine it two or three times. Chasing dozens of fresh re-rolls wastes time; guided iteration on a promising result gets you there faster.
Do I need to be an artist to write good prompts?
No. You need a small vocabulary of lighting, lens, and style terms, which you can pick up in an afternoon, plus the willingness to iterate. The examples above are reusable templates; swap in your subject and adjust from there.
How do I fix text that comes out garbled in an image?
Image models are historically weak at rendering text, so the reliable approach is to generate the artwork with space left for a headline and add the text afterward in a design tool. If you need text baked in, a generator built for that will do better than forcing it here.
Can I use the images commercially?
Check Midjourney’s current license terms and our commercial-use notes in the image generators guide. Verify before client work, and avoid prompts that imitate a living artist or a real brand’s logo.
Keep Creating
Save the formula, start from the closest example, and iterate. Prompt skill compounds faster than any subscription upgrade.